
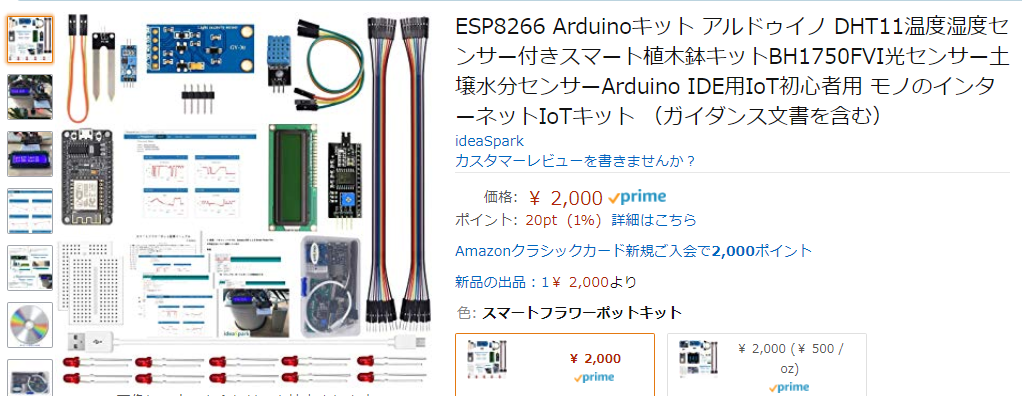
やっと到着した。ソースのサンプル発見。スイッチサイエンスの基板でとあるが基本は変わらないはず。ラズベリーパイでなく今回はこちらで行うことにしてみる。
Copyright (c) 2015, Embedded Adventures
All rights reserved.

Contact us at source [at] embeddedadventures.com
www.embeddedadventures.com

Redistribution and use in source and binary forms, with or without
modification, are permitted provided that the following conditions are met:

- Redistributions of source code must retain the above copyright notice,
  this list of conditions and the following disclaimer.

- Redistributions in binary form must reproduce the above copyright
  notice, this list of conditions and the following disclaimer in the
  documentation and/or other materials provided with the distribution.

- Neither the name of Embedded Adventures nor the names of its contributors
  may be used to endorse or promote products derived from this software
  without specific prior written permission.

THIS SOFTWARE IS PROVIDED BY THE COPYRIGHT HOLDERS AND CONTRIBUTORS "AS IS"
AND ANY EXPRESS OR IMPLIED WARRANTIES, INCLUDING, BUT NOT LIMITED TO, THE
IMPLIED WARRANTIES OF MERCHANTABILITY AND FITNESS FOR A PARTICULAR PURPOSE
ARE DISCLAIMED. IN NO EVENT SHALL THE COPYRIGHT HOLDER OR CONTRIBUTORS BE
LIABLE FOR ANY DIRECT, INDIRECT, INCIDENTAL, SPECIAL, EXEMPLARY, OR
CONSEQUENTIAL DAMAGES (INCLUDING, BUT NOT LIMITED TO, PROCUREMENT OF
SUBSTITUTE GOODS OR SERVICES; LOSS OF USE, DATA, OR PROFITS; OR BUSINESS
INTERRUPTION) HOWEVER CAUSED AND ON ANY THEORY OF LIABILITY, WHETHER IN
CONTRACT, STRICT LIABILITY, OR TORT (INCLUDING NEGLIGENCE OR OTHERWISE)
ARISING IN ANY WAY OUT OF THE USE OF THIS SOFTWARE, EVEN IF ADVISED OF
THE POSSIBILITY OF SUCH DAMAGE.

*/

// BME280 MOD-1022 weather multi-sensor Arduino demo
// Written originally by Embedded Adventures

#include <BME280_MOD-1022.h>

#include <Wire.h>

// Arduino needs this to pring pretty numbers

void printFormattedFloat(float x, uint8_t precision) {
char buffer[10];

  dtostrf(x, 7, precision, buffer);
  Serial.print(buffer);

}


// print out the measurements

void printCompensatedMeasurements(void) {

float temp, humidity,  pressure, pressureMoreAccurate;
double tempMostAccurate, humidityMostAccurate, pressureMostAccurate;
char buffer[80];

  temp      = BME280.getTemperature();
  humidity  = BME280.getHumidity();
  pressure  = BME280.getPressure();

  pressureMoreAccurate = BME280.getPressureMoreAccurate();  // t_fine already calculated from getTemperaure() above

  tempMostAccurate     = BME280.getTemperatureMostAccurate();
  humidityMostAccurate = BME280.getHumidityMostAccurate();
  pressureMostAccurate = BME280.getPressureMostAccurate();
  Serial.println("                Good  Better    Best");
  Serial.print("Temperature  ");
  printFormattedFloat(temp, 2);
  Serial.print("         ");
  printFormattedFloat(tempMostAccurate, 2);
  Serial.println();

  Serial.print("Humidity     ");
  printFormattedFloat(humidity, 2);
  Serial.print("         ");
  printFormattedFloat(humidityMostAccurate, 2);
  Serial.println();

  Serial.print("Pressure     ");
  printFormattedFloat(pressure, 2);
  Serial.print(" ");
  printFormattedFloat(pressureMoreAccurate, 2);
  Serial.print(" ");
  printFormattedFloat(pressureMostAccurate, 2);
  Serial.println();
}


// setup wire and serial

void setup()
{
  Wire.begin();     // Wire.begin(sda, scl)
  pinMode(12, OUTPUT);
  Serial.begin(115200);
}

// main loop

void loop()
{

  uint8_t chipID;

  Serial.println();
  Serial.println();
  Serial.println("Welcome to the BME280 MOD-1022 weather multi-sensor test sketch!");
  Serial.println("Embedded Adventures (www.embeddedadventures.com)");
  chipID = BME280.readChipId();

  // find the chip ID out just for fun
  Serial.print("ChipID = 0x");
  Serial.println(chipID, HEX);


  // need to read the NVM compensation parameters
  BME280.readCompensationParams();

  // Need to turn on 1x oversampling, default is os_skipped, which means it doesn't measure anything
  BME280.writeOversamplingPressure(os1x);  // 1x over sampling (ie, just one sample)
  BME280.writeOversamplingTemperature(os1x);
  BME280.writeOversamplingHumidity(os1x);

  // example of a forced sample.  After taking the measurement the chip goes back to sleep
  BME280.writeMode(smForced);
  while (BME280.isMeasuring()) {
    Serial.println("Measuring...");
    delay(50);
  }
  Serial.println("Done!");

  // read out the data - must do this before calling the getxxxxx routines
  BME280.readMeasurements();
  Serial.print("Temp=");
  Serial.println(BME280.getTemperature());  // must get temp first
  Serial.print("Humidity=");
  Serial.println(BME280.getHumidity());
  Serial.print("Pressure=");
  Serial.println(BME280.getPressure());
  Serial.print("PressureMoreAccurate=");
  Serial.println(BME280.getPressureMoreAccurate());  // use int64 calculcations
  Serial.print("TempMostAccurate=");
  Serial.println(BME280.getTemperatureMostAccurate());  // use double calculations
  Serial.print("HumidityMostAccurate=");
  Serial.println(BME280.getHumidityMostAccurate()); // use double calculations
  Serial.print("PressureMostAccurate=");
  Serial.println(BME280.getPressureMostAccurate()); // use double calculations

  // Example for "indoor navigation"
  // We'll switch into normal mode for regular automatic samples

  BME280.writeStandbyTime(tsb_0p5ms);        // tsb = 0.5ms
  BME280.writeFilterCoefficient(fc_16);      // IIR Filter coefficient 16
  BME280.writeOversamplingPressure(os16x);    // pressure x16
  BME280.writeOversamplingTemperature(os2x);  // temperature x2
  BME280.writeOversamplingHumidity(os1x);     // humidity x1

  BME280.writeMode(smNormal);

  while (1) {
    digitalWrite(12, HIGH);
    while (BME280.isMeasuring()) {

    }

    // read out the data - must do this before calling the getxxxxx routines
    BME280.readMeasurements();
    printCompensatedMeasurements();

    delay(1000);
    Serial.println();

    digitalWrite(12, LOW);
    delay(1000);
  }
}


 小学校からプログラミング不要は思い違いだったようだ。